If you have been following my Instagram, you will see I have been obsessed with all things weaving since I came back from On Higher Ground Fiber Workshops in Taos last October. Debra Lambert of Picasso Moon taught an awesome class on weaving, sent me home with a loom, and I have been hooked.
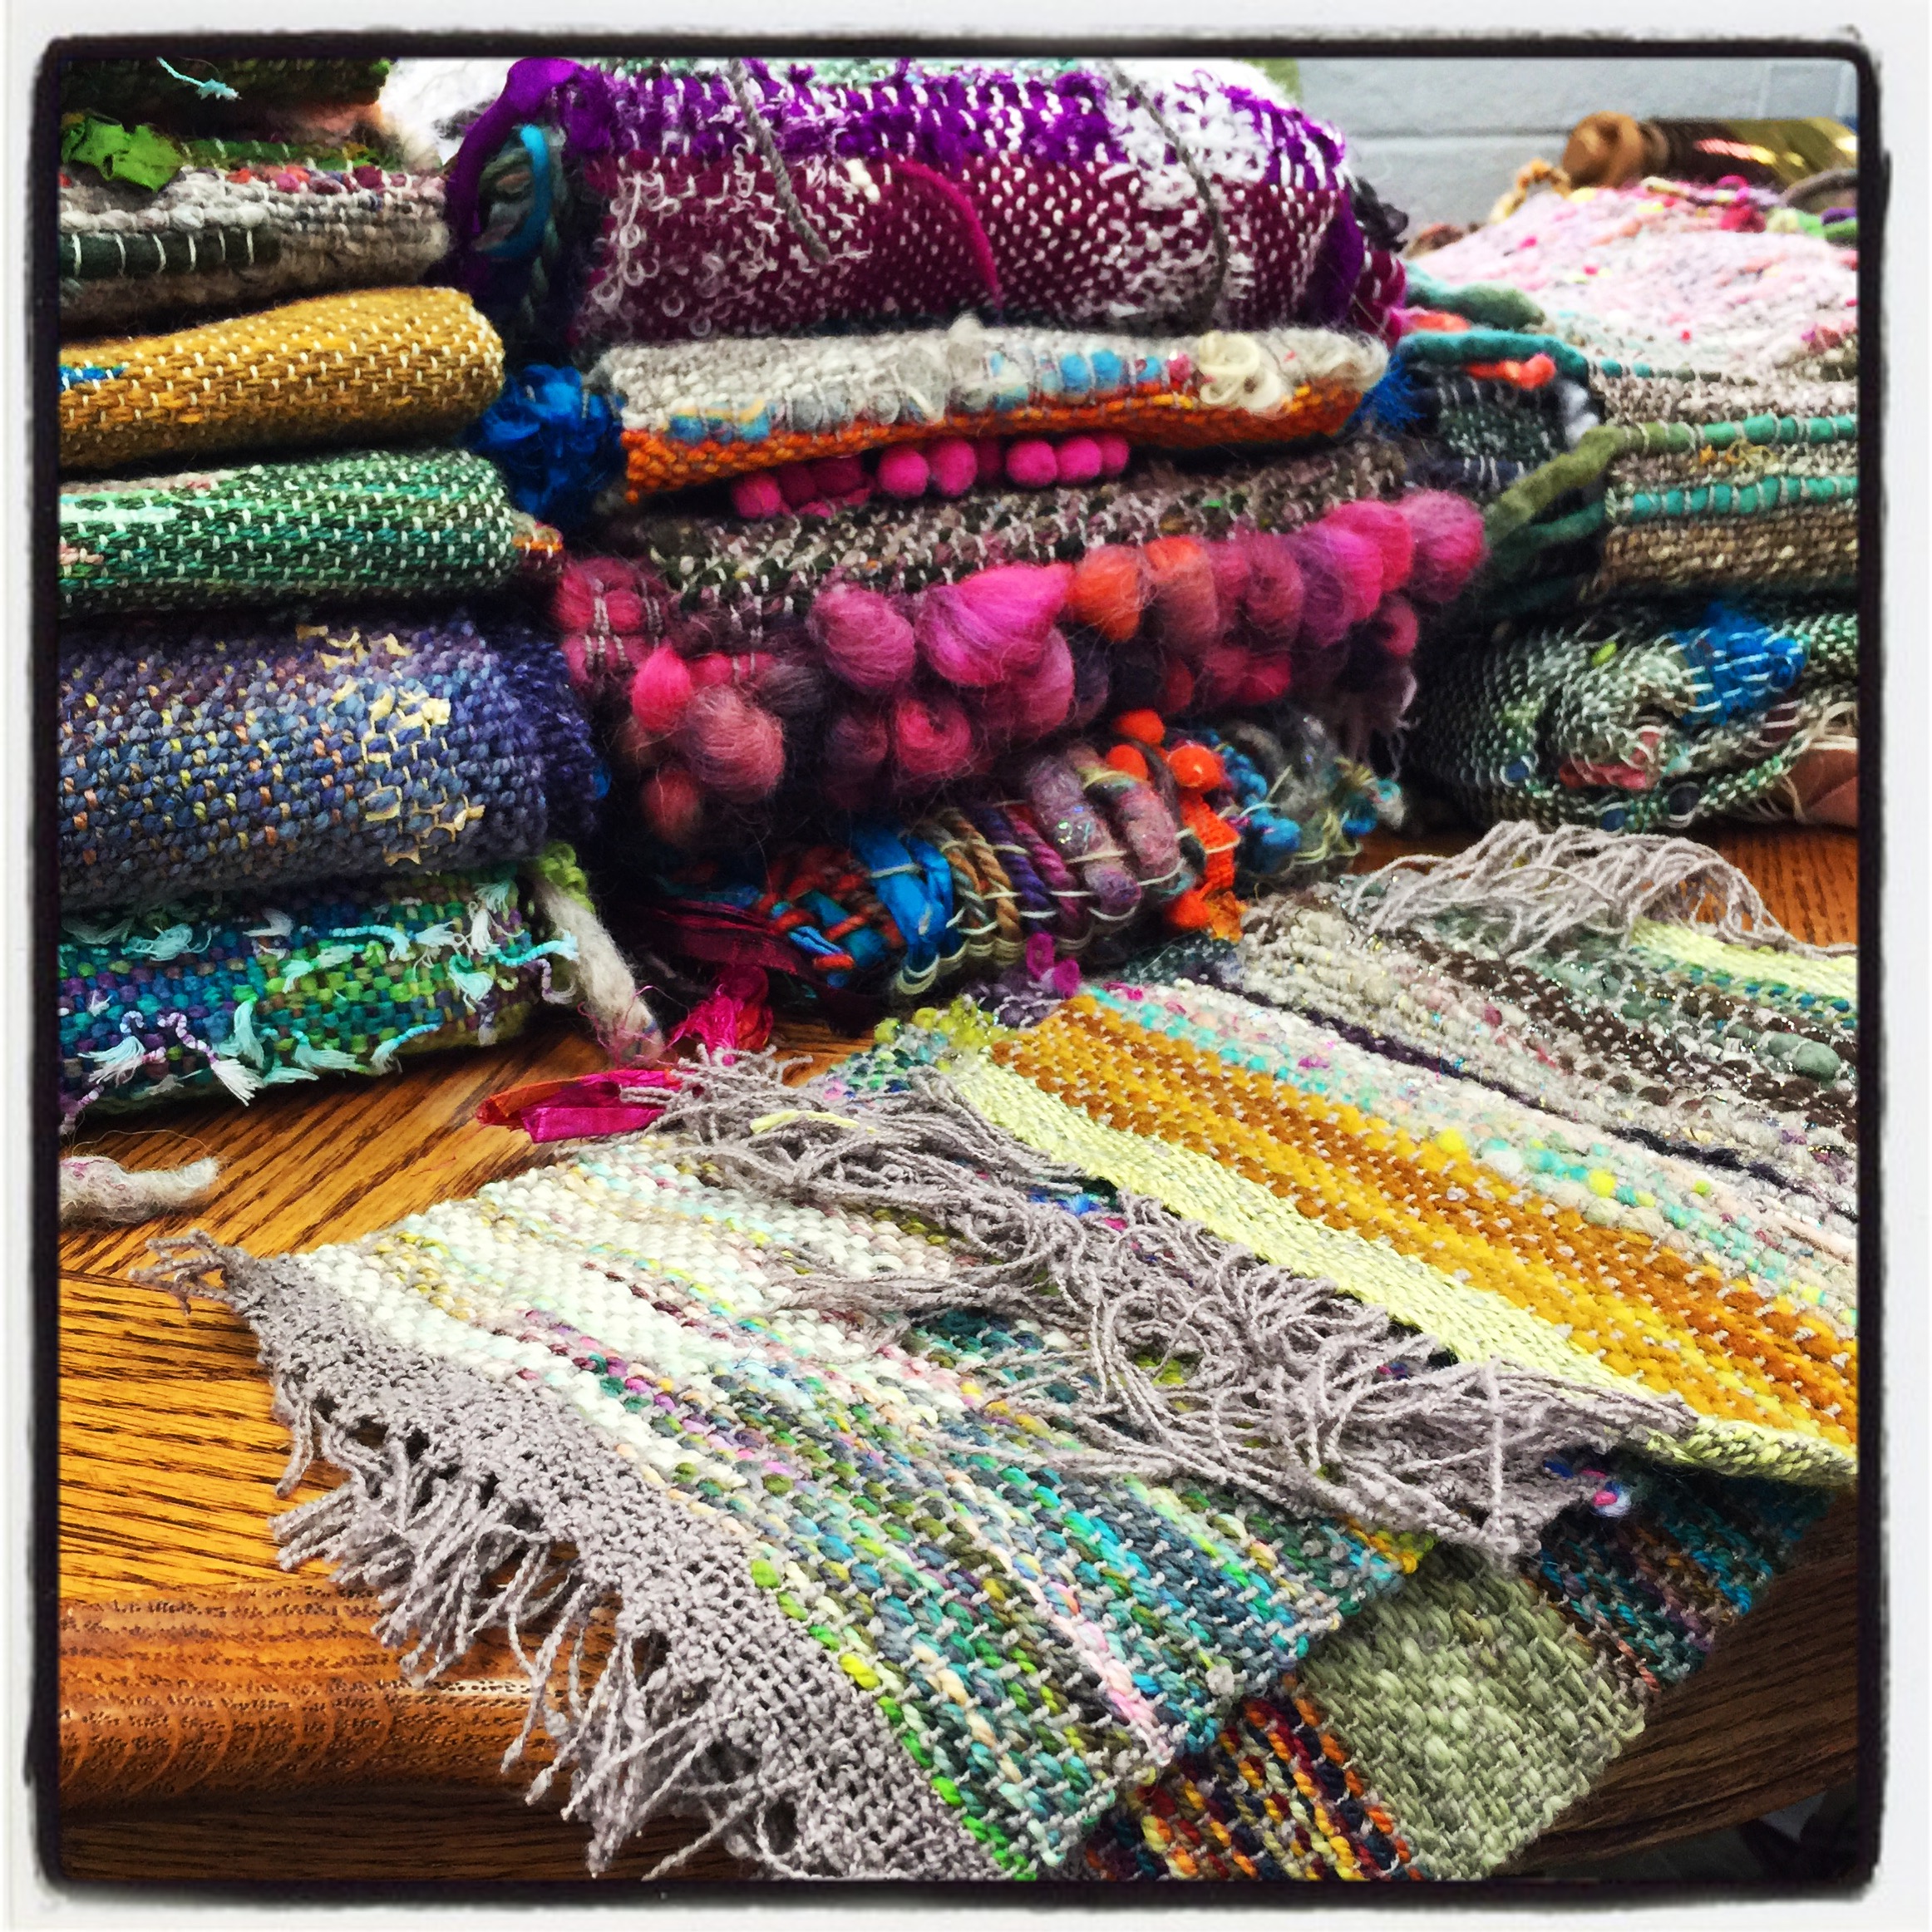
I have had many questions about my weaving. This is the second part of my four part series on art yarn weaving. You can find Part 1 of this series here. By art weaving, I am talking about an intuitive practice that is very similar to the Saori method of weaving. It is all about being in the moment and intuitively selecting yarn and techniques as you work. It is so similar to how I love to knit. I have been completely blown away by the results.
This series MY perspective.
I am not a weaving expert by any stretch of the imagination. And if you have been following my articles, you already know I am all about embracing a fiber art rebel attitude when it comes to craft traditions. So I have no doubt I am breaking some traditional weaving rules here. Or not… who knows. I have not spent as much time studying the traditions as I have just diving into making the mistakes and discoveries.
Today I am going to talk about warping your loom.
I am not going to lie. Warping has always been one of my least favorite tasks in weaving. And one of the main reasons why the tiny looms are so awesome is I can have the loom dressed and ready to go in 30 minutes.
But over the last 6 months, I have come to see warping as an opportunity to add another design dimension to my weaving. Warp can play a significant part in what your fabric looks like. Which should be a given, Right? It makes up 50% or more of your hand made cloth.
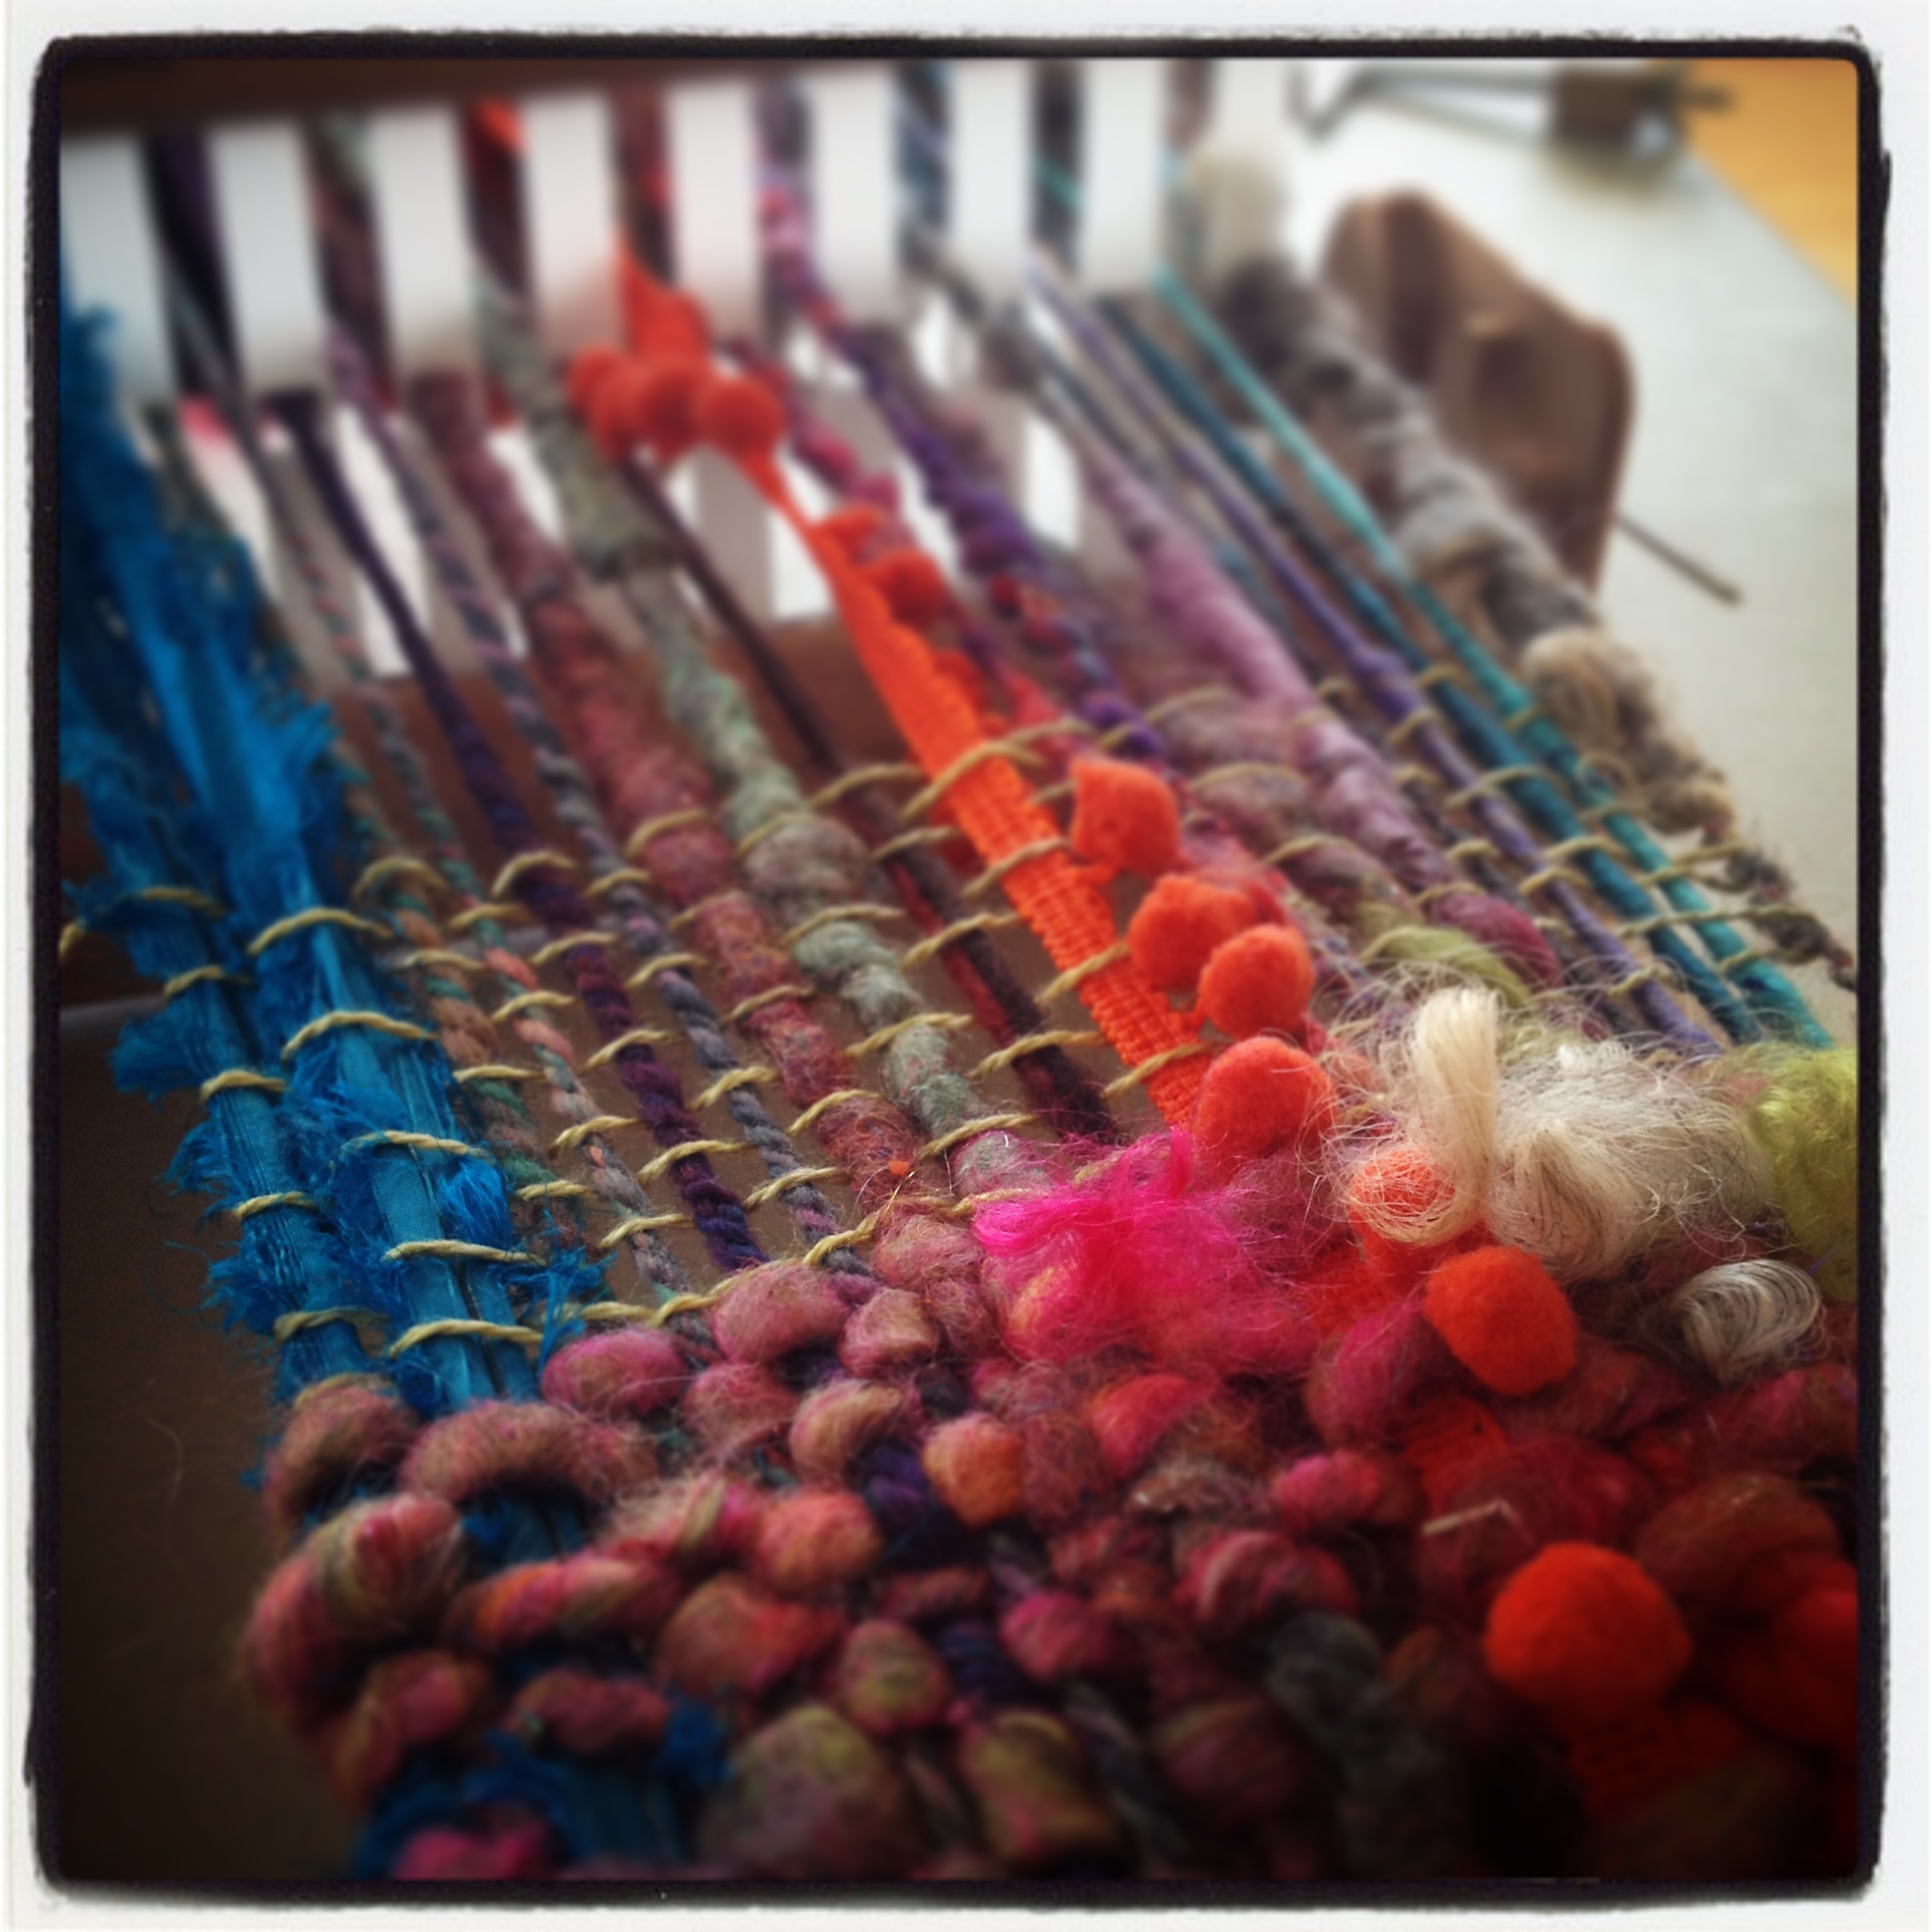
What yarn to use?
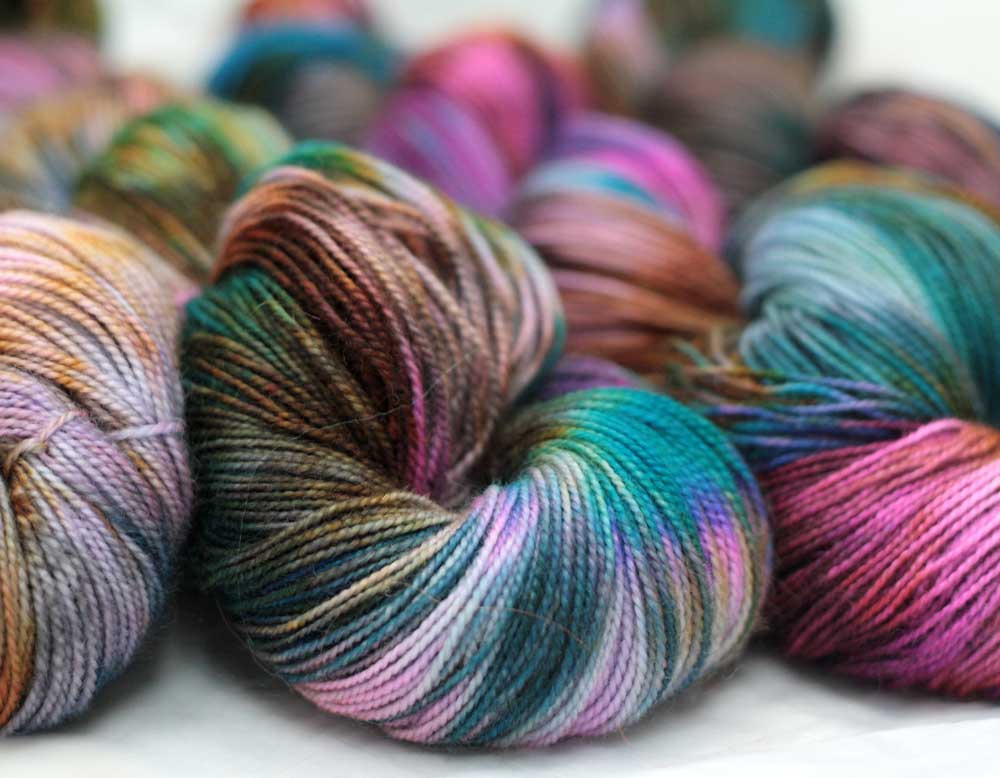
When picking yarn to warp, the most important thing to look for is a strong yarn. It will have to endure a bit of wear as you tighten the loom, move the heddle, and beat the weft into place. Take it from me it can SUCK when a warp thread breaks. But, I am not saying you can only use a coarse ugly cotton string that you would never dream of knitting with. Plied is probably better than singles (although I have had success with some sturdy wool singles). Sock yarn is a terrific option. As is beautiful hand dyed silk lace yarn. There are many looms that have some heddles designed for textural art yarns. But for your first piece, I would recommend sticking with something not so bulky.
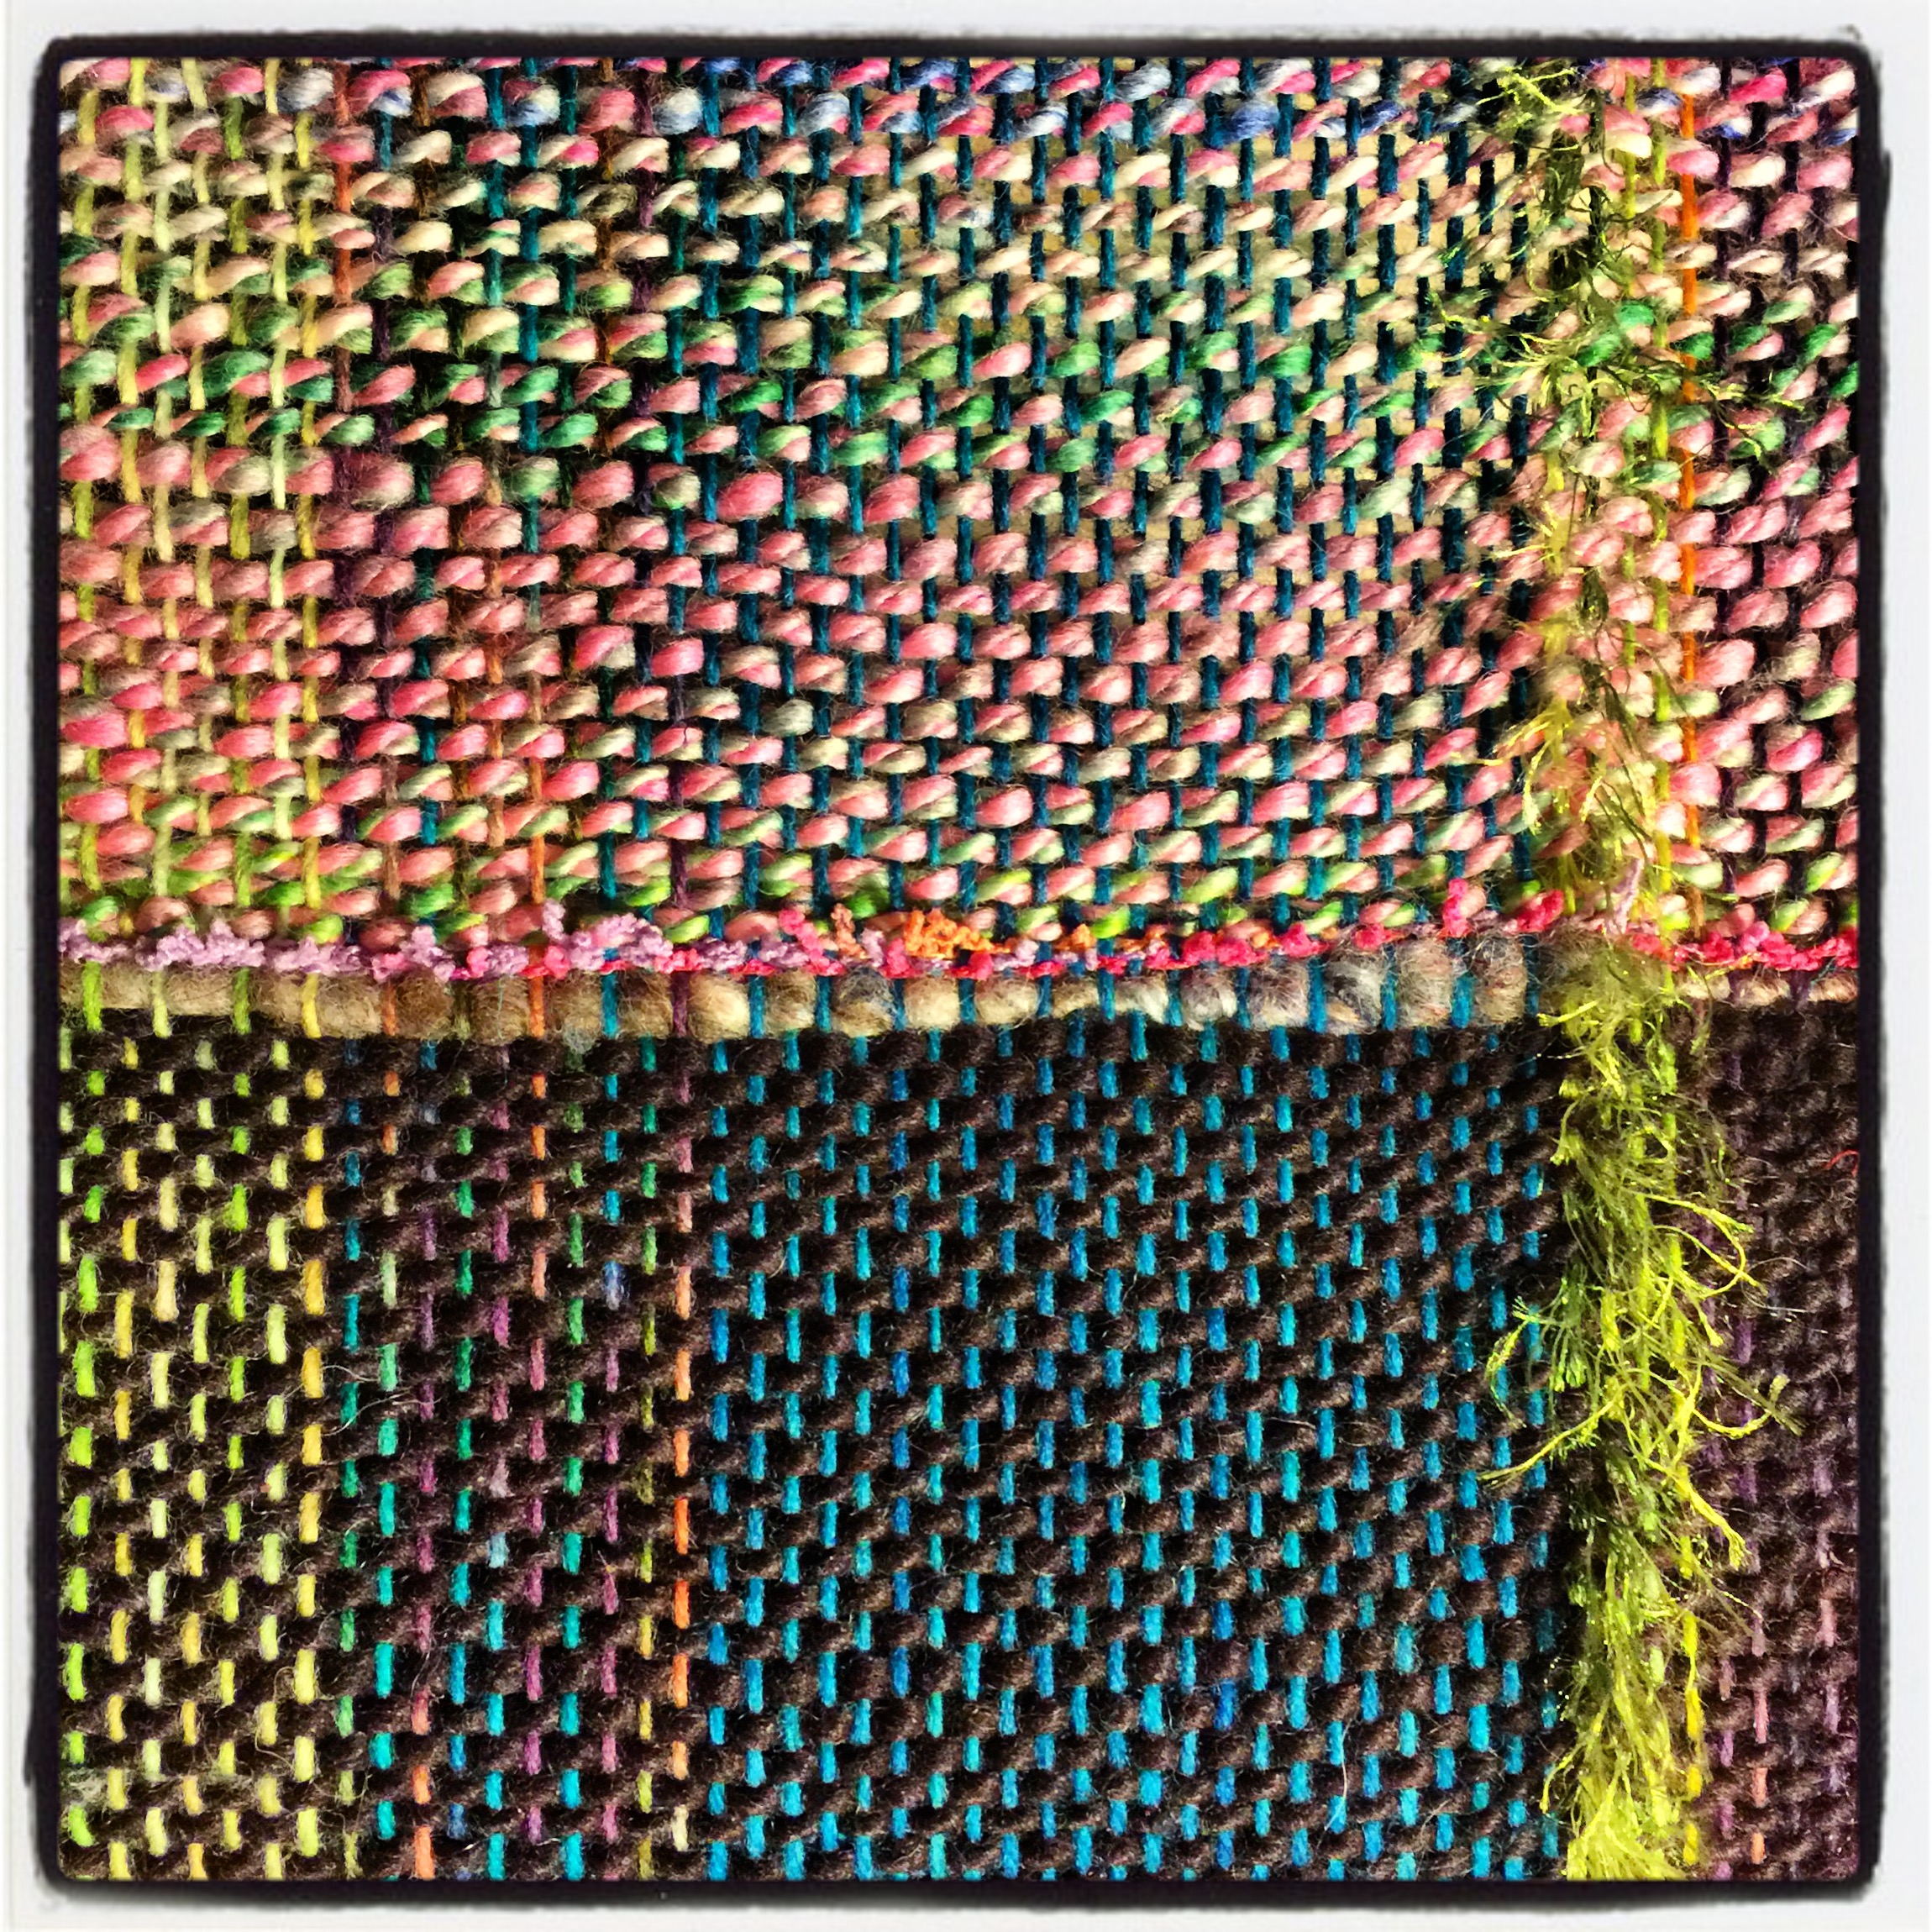
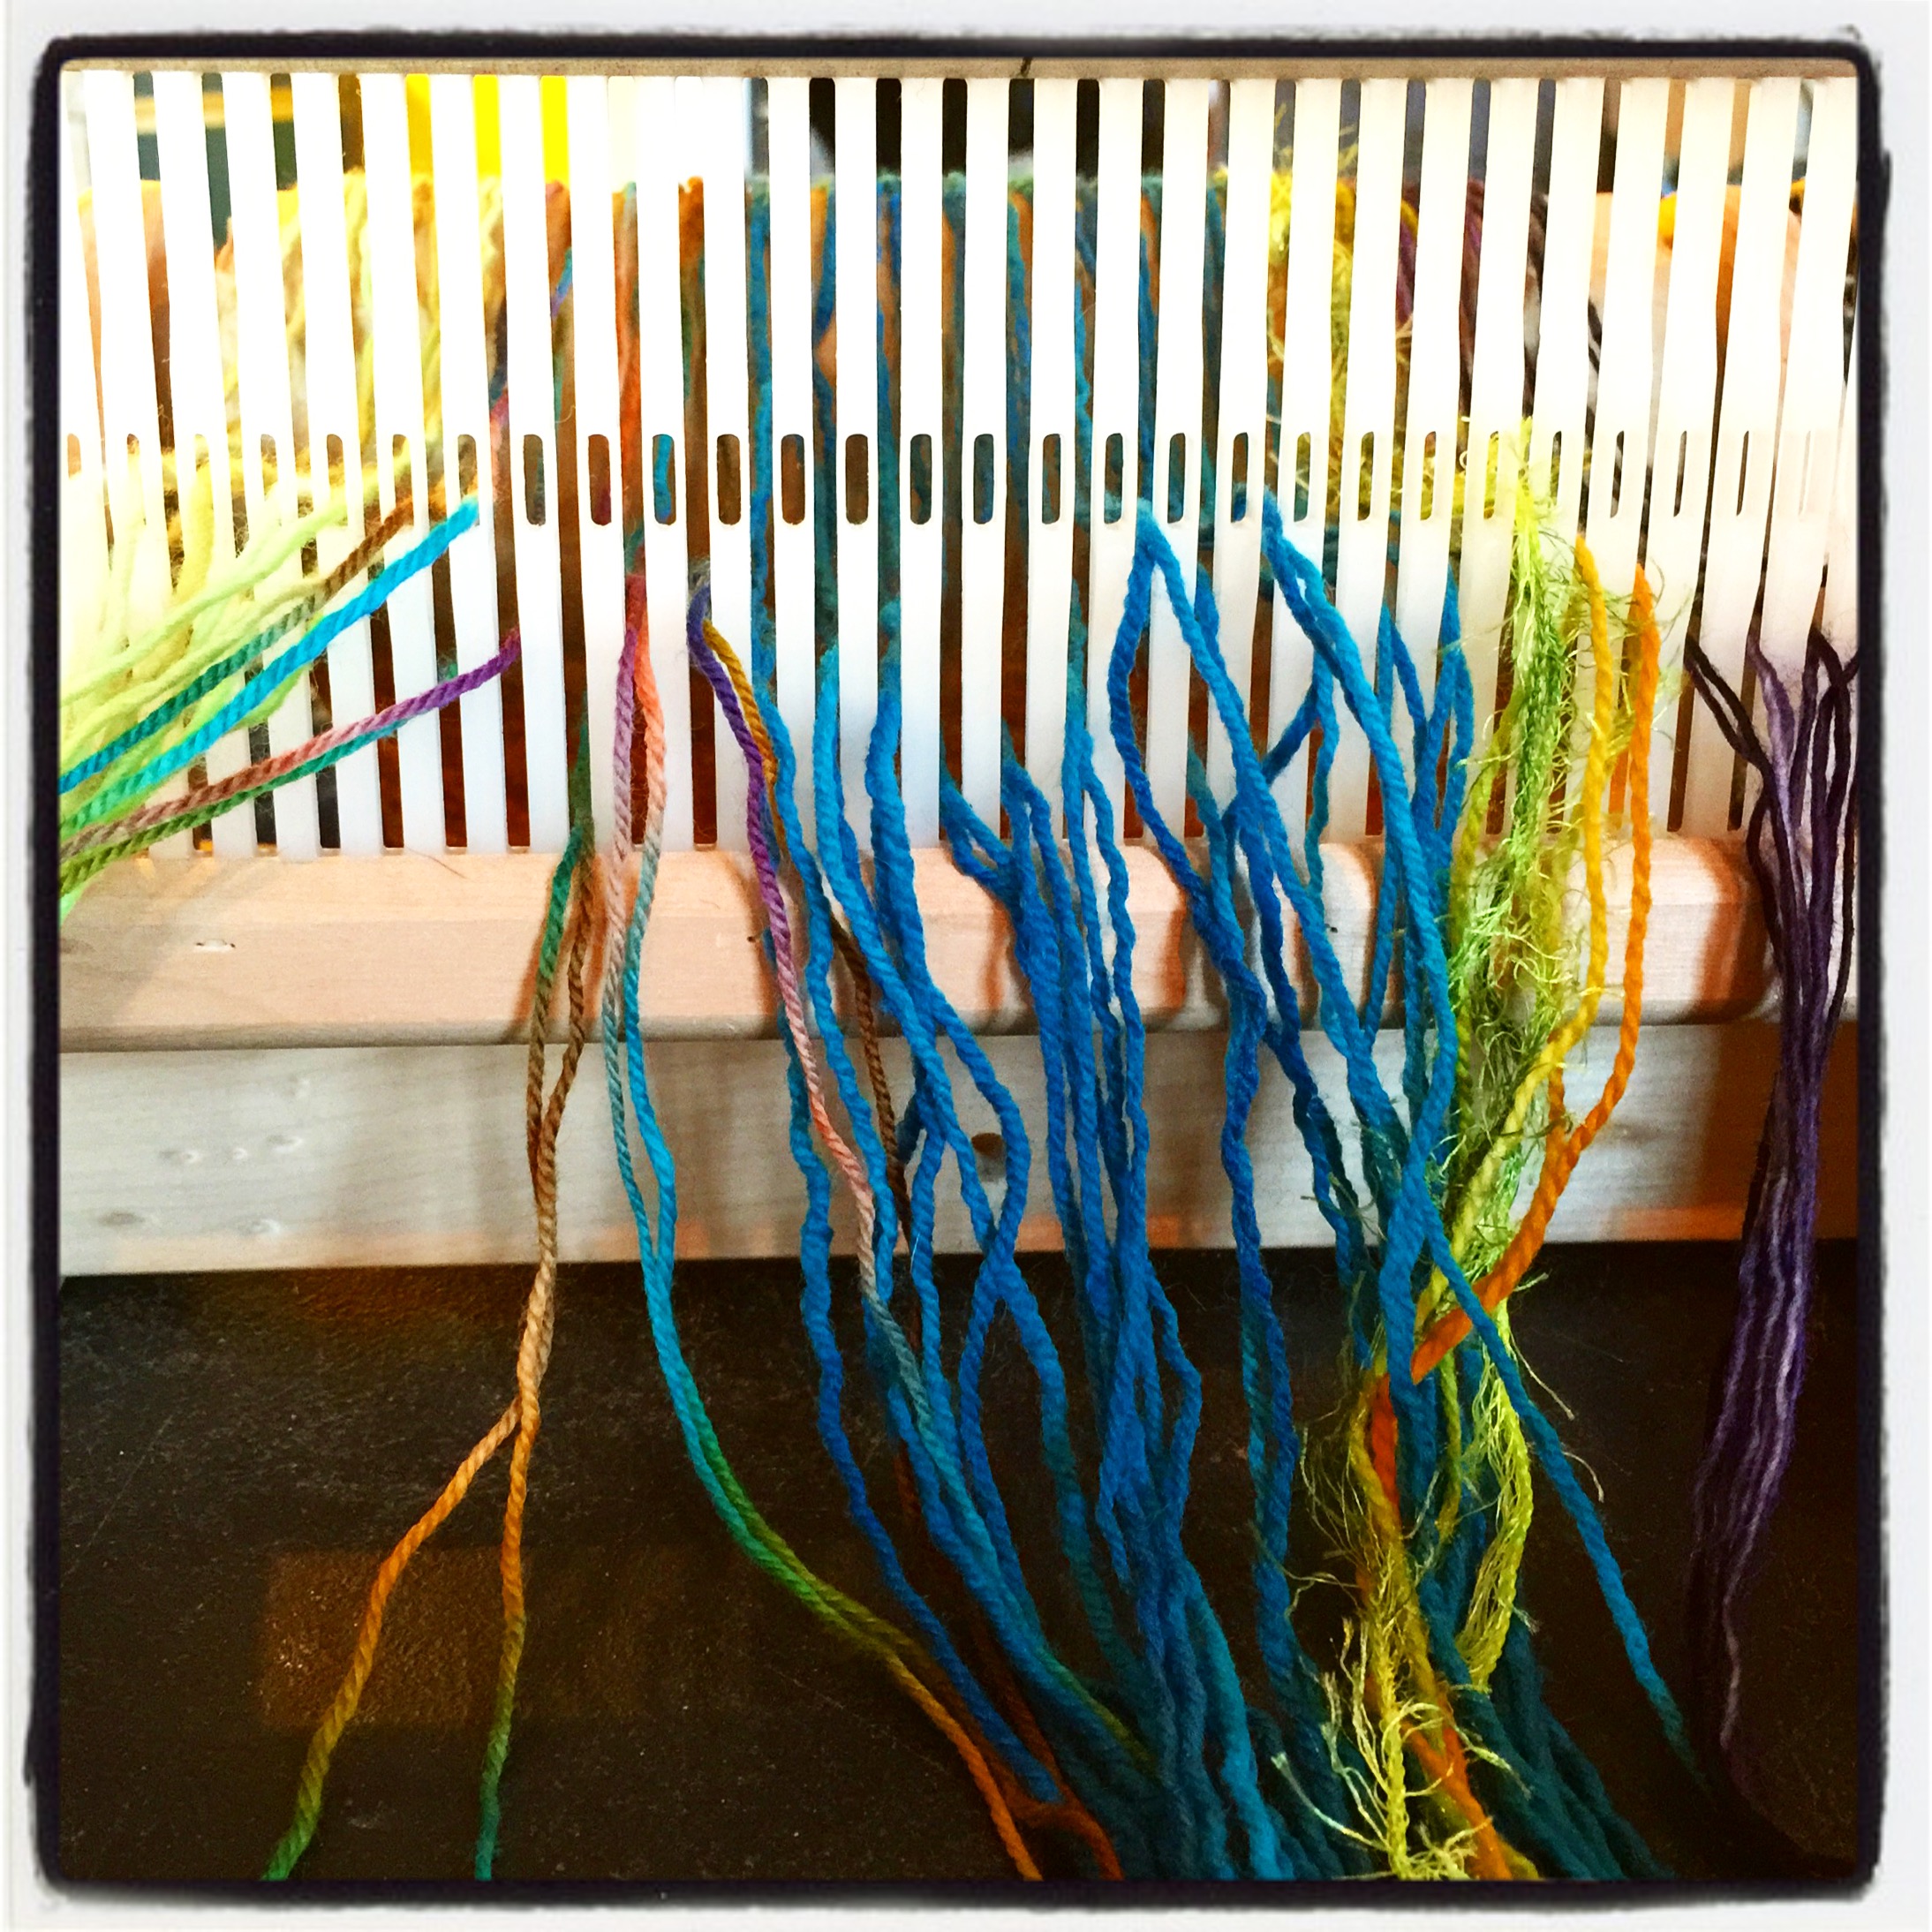
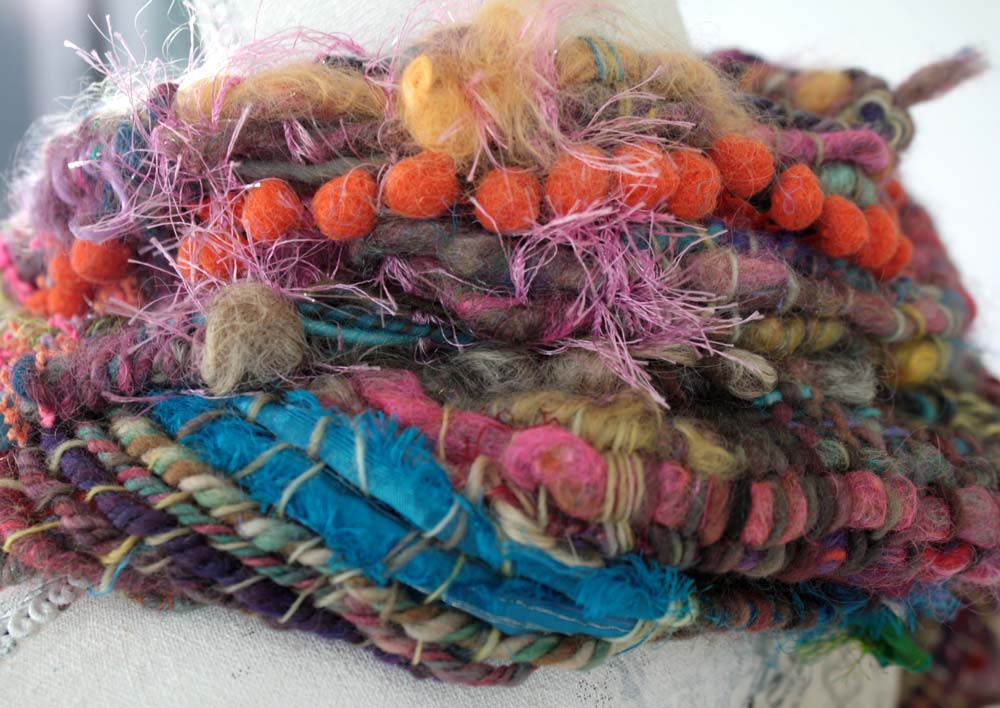
Consider adding color and texture to your warp.
This is a great place to add a stripe of novelty yarn. I have also found some interesting colored warps (hello remnant sock yarn stash) can give awesome depth to your fabric. Don’t overthink the selection too much. You will be pleasantly surprised with the results as you work.
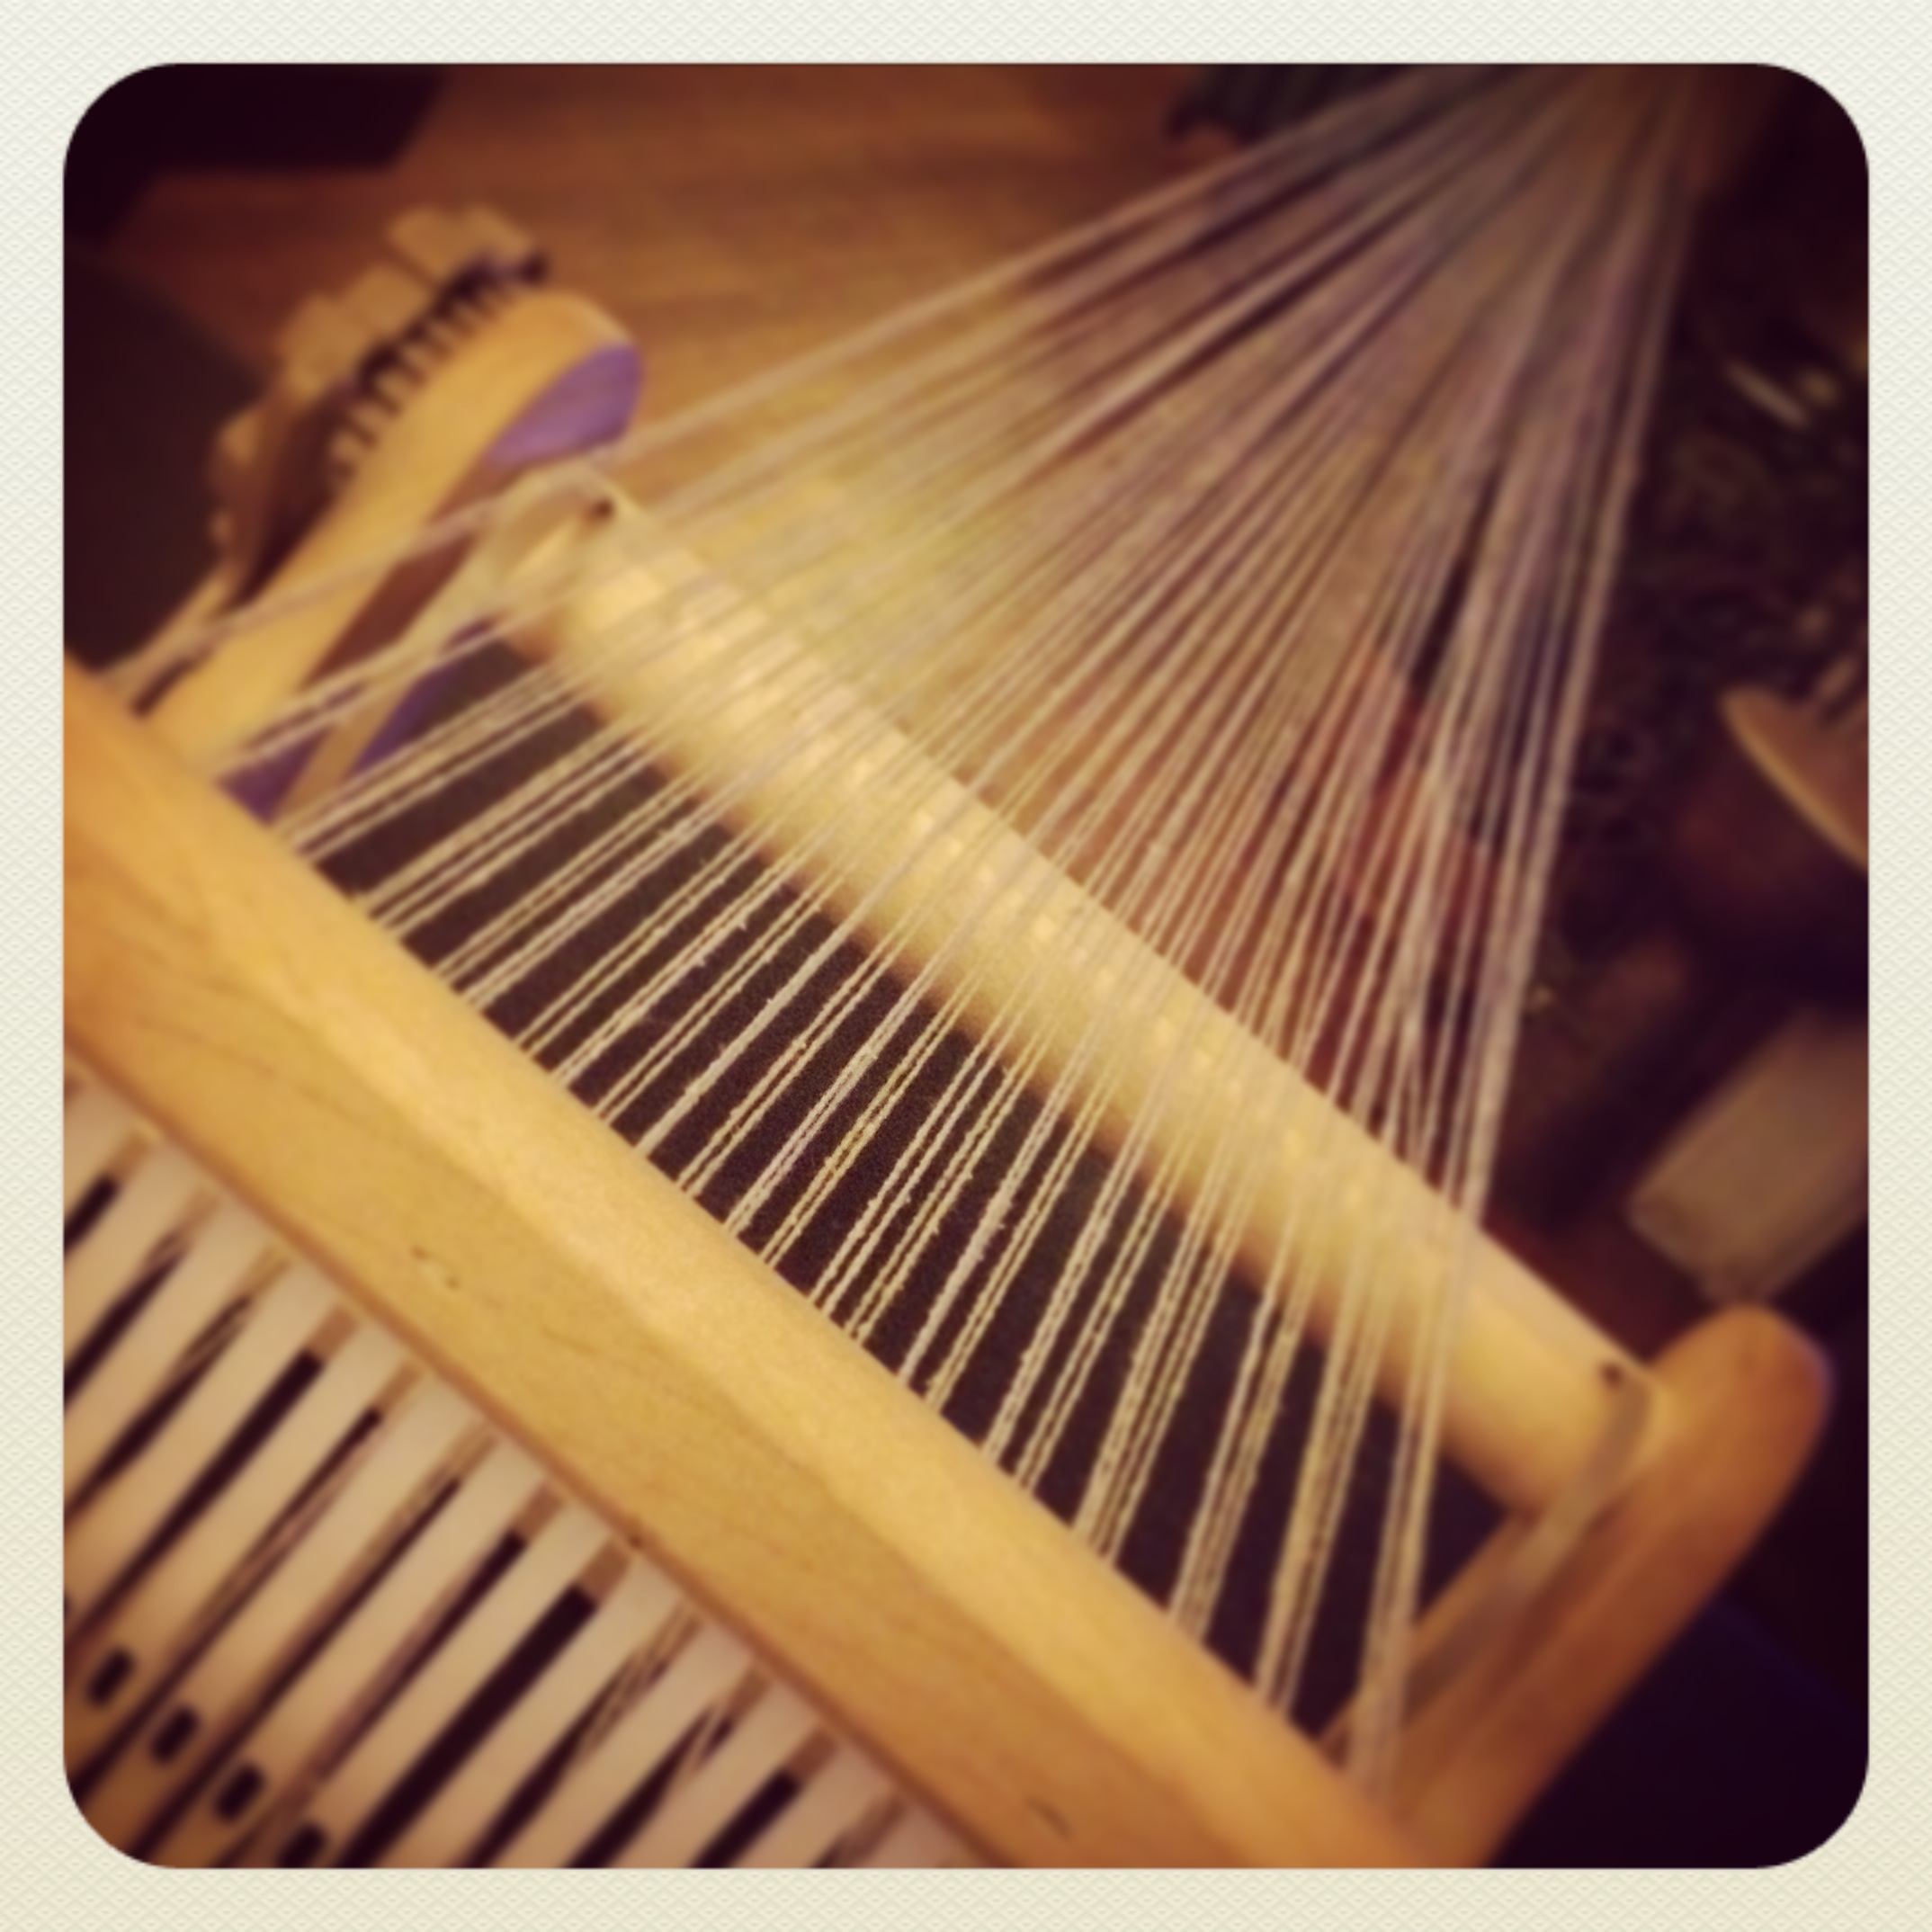
How long should my warp be?
I know for my Sample It loom, really 12 ft is about the max that the loom can comfortably handle. If you are making a series of smaller pieces, you can either warp a bit shorter (for example if you were making a 7ft scarf) or bulk weave some pieces (for example, if you were weaving 8in pieces for a series handmade pouches). If you are planning on weaving a series of pieces, expect to have between 6-12″ of loom waste depending on if you will have fringe or not)
Most rigid heddle looms come with a warping peg. For me this is the easiest way to warp. You can also wind a warp on a warping board. I have only tried this once with disastrous results. It is something I would like to explore more because I would love to try my hand at hand painting some warps. Here is a video of how to warp a loom with the warping peg.
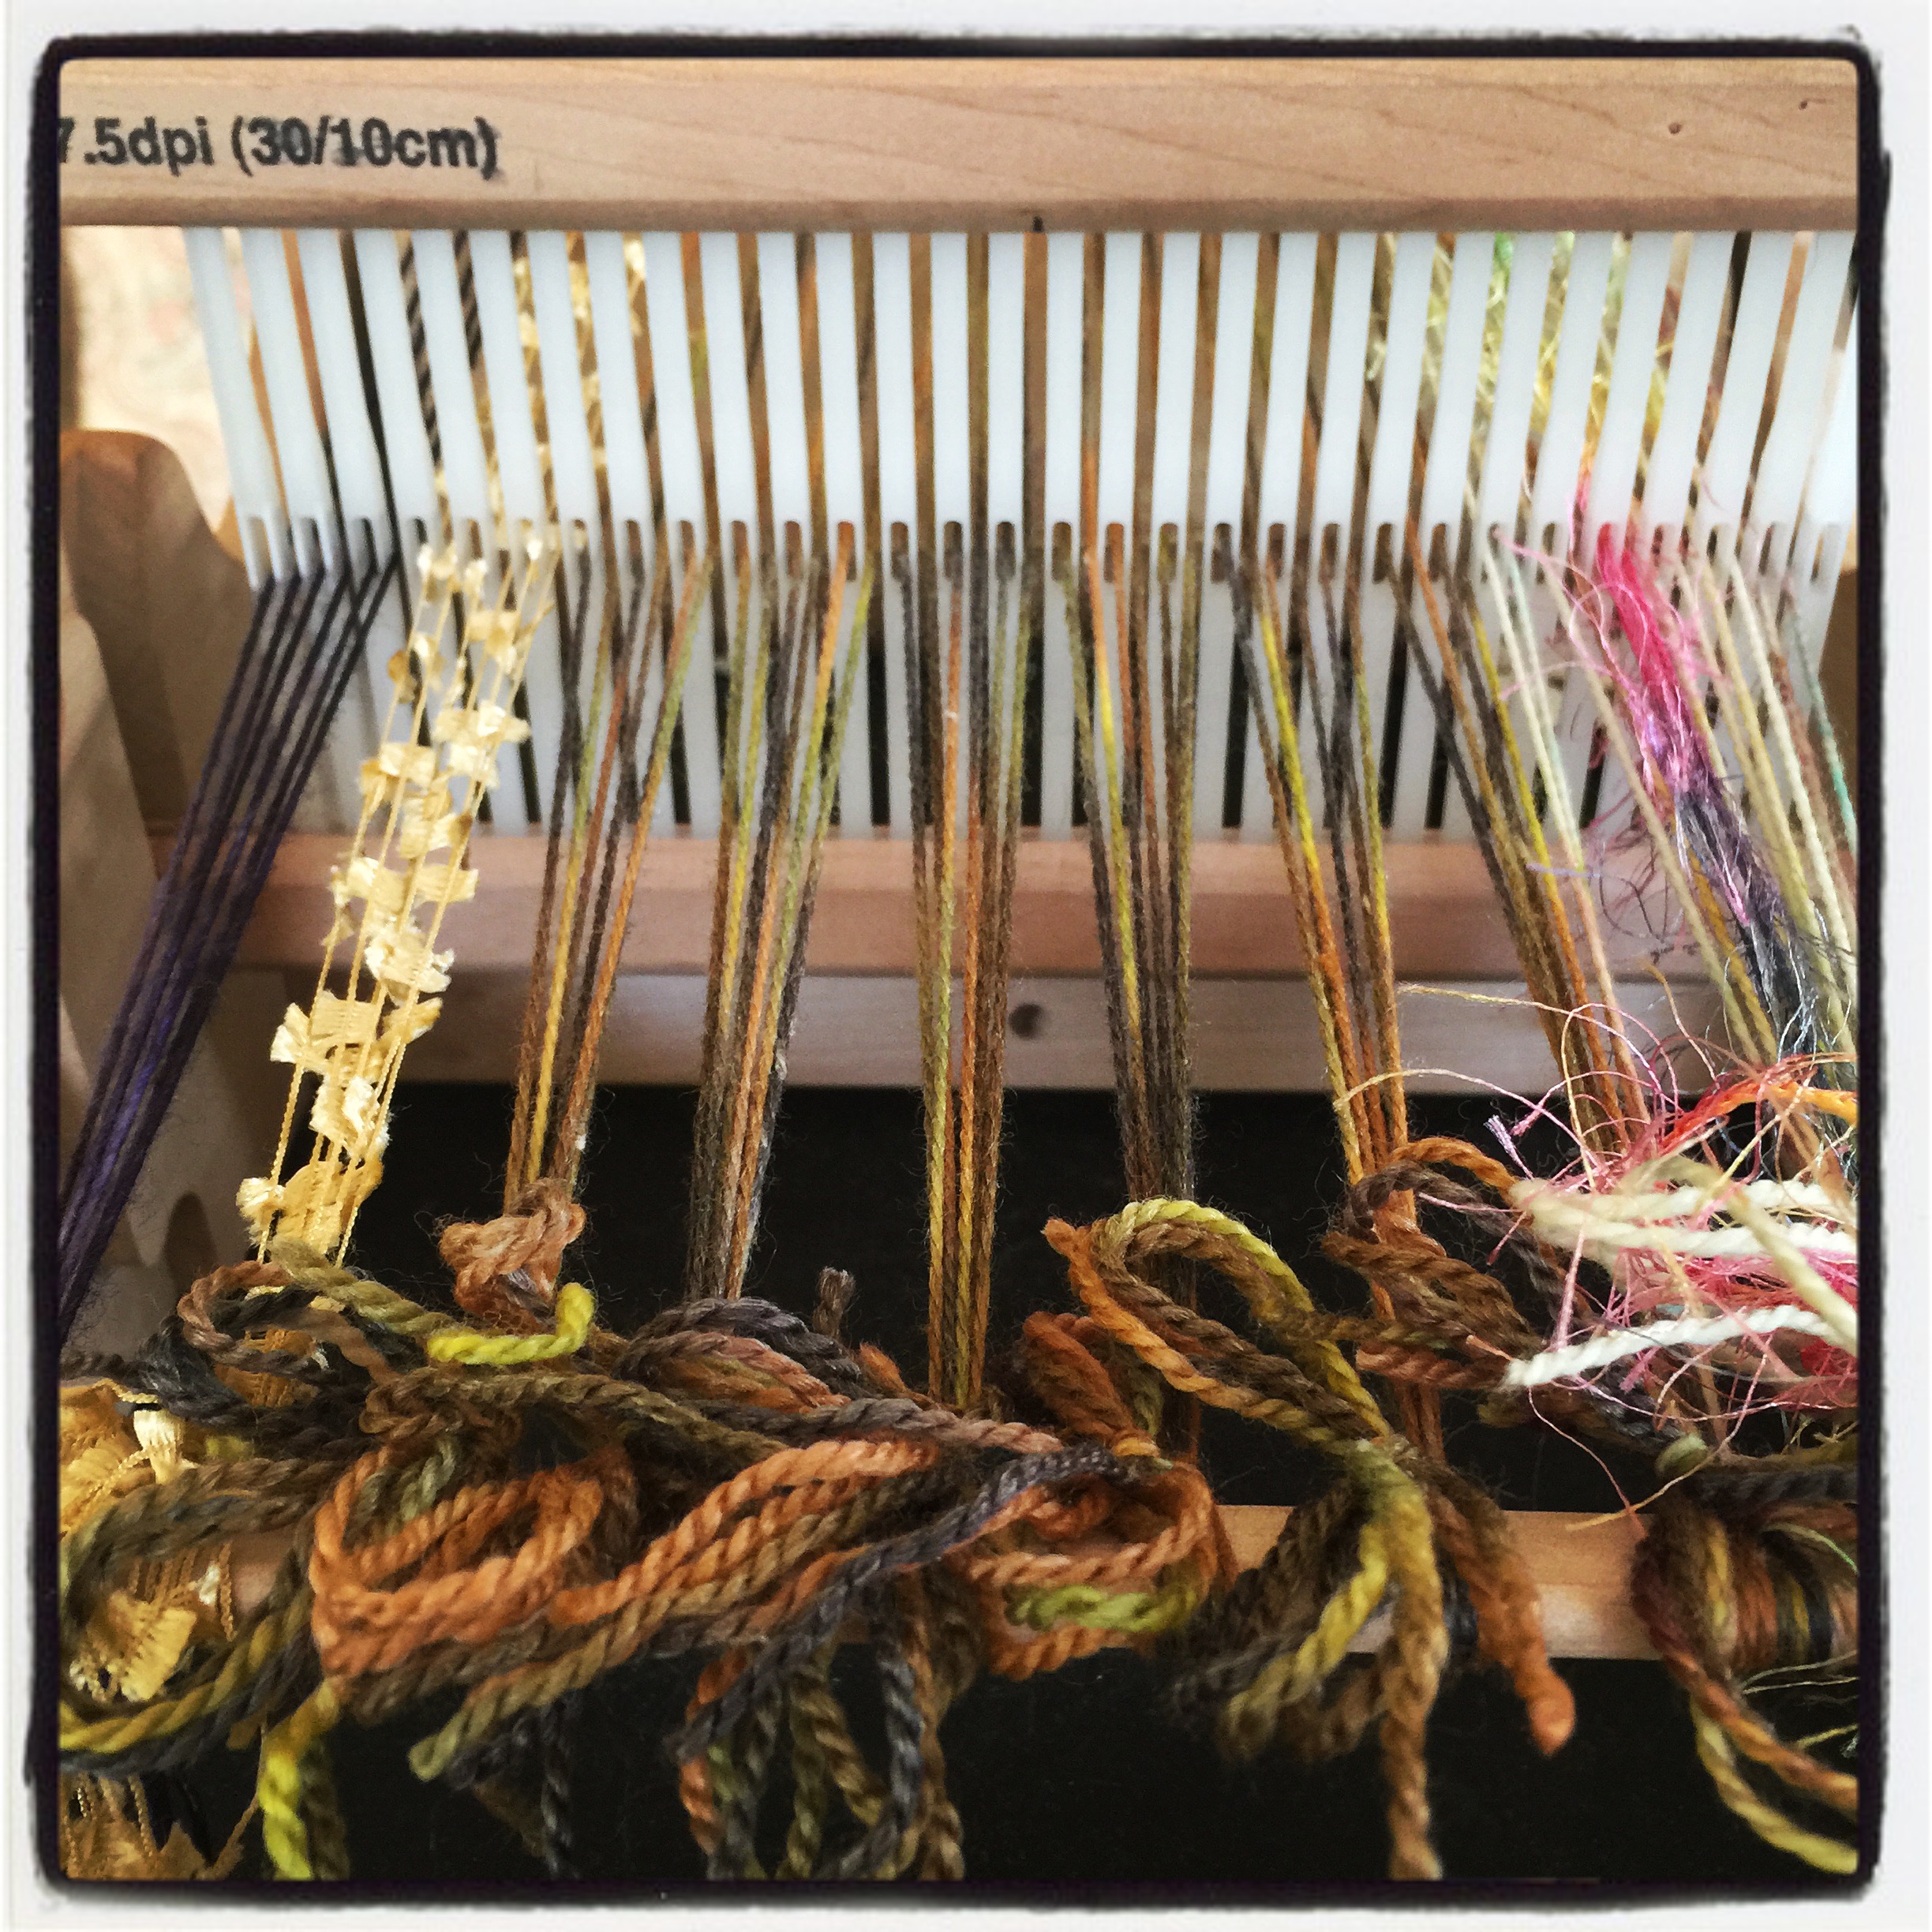
The only other advice I have for warping is to be sure to use some brown paper bags or sticks as you wind the warp onto the beam. This will keep your threads from sinking into the wound warp and messing up your tension. As you tie your ends onto the strap, start in the middle and work out to the ends evenly. Then, be sure to go back and retighten your first ends as they may feel looser once you get all of the ends tied onto the strap.
In the next part we are going to get to the fun part of weaving. The actual weaving the weft. I will cover just a few of my favorite techniques.
Do you have warping tip to share?
Leave me a comment below or post it in the Facebook group.

 Fiber artist Stacey Budge-Kamison AKA UrbanGypZ lives and works in Cary NC. She can also be found knitting in public, hammering out her latest e-course at local cafés and spinning yarns in her booth at her favorite arts festivals. A designer at heart, Stacey has decided that her mission is to help fellow knitters, crocheters, weavers and felters embrace their own style and creativity by exploring fiber art as it is a part of their everyday life and helping them embrace the title of artist no matter where they are in their journey.




Hi Stacy,
Have watched your videos before joining the course and tried using various yarns including fancy yarns and sari ribbon using the Ashford varident. They turned out well really, used some super chunky and hand spun too.
Didn’t realise that you need to start tying on the ends from the middle so will try that for next attempt Just followed the Ashford info book and also You Tube video.
Often find some threads are slacker than others even though trying hard to keep them all same tension at tying on time.
Is there a particular order in which threads should go through the hole and slot? Sometimes I find one thread seems to be crossing another when I get going. I try to pick the thread that is is on the left to go through the hole and the other through the slot?????
Also have joined a few others in a weaving session once monthly…none of us are experienced. Someone said that its a good idea to put two warp threads through the same slots at beginning and end of work to give it more strength.
What do you think?
Yes warping with art yarns and ribbons, the tension can get wonky. Sometimes adding some extra paper alongside the chunkier yarns with the warp separator to even the tension out a bit by making them all the same height. you can work the tension variations as a design element by either clustering them on the ends or in the middle (think of ruffles or a seersucker). as far as the warp threads crossing, I usually ignore it. I too had concerns when first weaving on the sample, but was told it did not affect the weaving. so far it hasn’t been a problem except it does brush agains sense of order (!!!) reinforcing the selvage edges is a good thing. But I also find with freeform weaving it is not a deal breaker.